
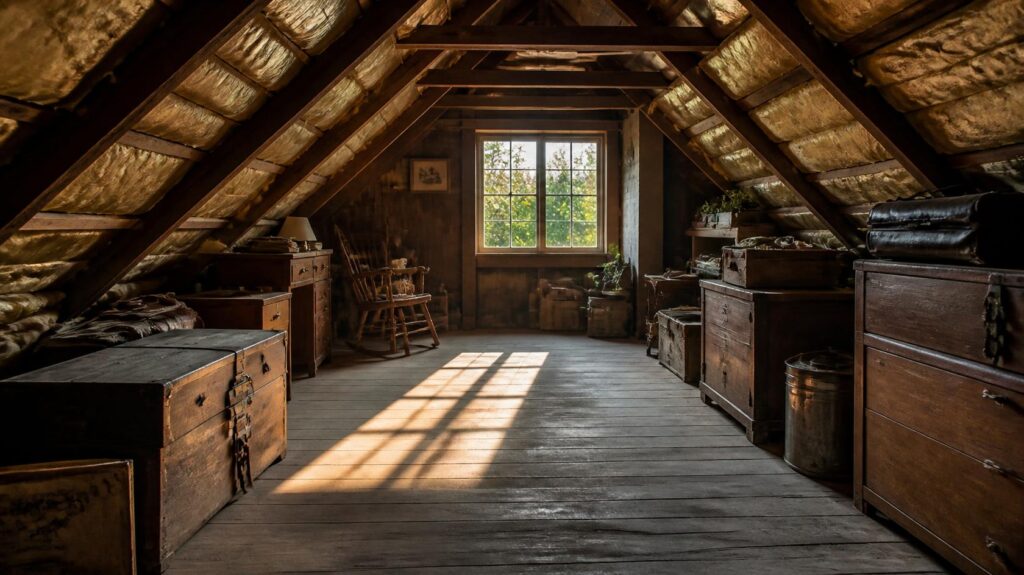
If your home was built before the 1980s, there’s a good chance your attic is working against you instead of for you. Old insulation settles, compresses, and loses its R-value over time — and in a lot of San Fernando Valley and LA homes, it was never installed to today’s standard in the first place. Before you climb up there with a roll of fiberglass from the hardware store, it’s worth understanding what makes insulating an old attic different from insulating a new one — and where DIY can turn into an expensive redo.
Why Old Attics Are a Different Job Than New Construction
New-construction attics are a blank slate. Old attics almost never are. Here’s what typically complicates the job in older LA homes:
- Degraded existing insulation. Fiberglass batts and loose-fill lose loft (and R-value) as they age, get compressed, or absorb moisture. Simply adding a thin layer on top doesn’t fix an attic that’s already underperforming.
- Contamination. Decades-old attics frequently have rodent droppings, urine staining, or nesting debris mixed into the insulation — which needs to be addressed before new material goes in, not after.
- Outdated or exposed wiring. Homes with older electrical systems may have wiring and fixtures that were never designed to be buried under insulation, creating a fire-safety issue if it’s installed the wrong way.
- Missing air sealing. Older homes were built with almost no attention to air leaks around recessed lighting, plumbing stacks, and attic hatches — so even fresh insulation won’t stop the energy loss until those gaps are sealed first.
Step 1: Inspect and Clean Before You Insulate
The single biggest mistake homeowners make is installing new insulation directly over an attic that hasn’t been cleaned or assessed. If there’s any sign of rodent activity, water staining, or matted, discolored insulation, that material needs to be removed and the space sanitized first — otherwise you’re sealing the contamination in rather than out. This is also the point where a contractor can catch structural or electrical issues while the attic floor is still exposed. See our attic cleaning and sanitization service for what a proper pre-insulation cleanout involves.
Step 2: Air Seal Before Adding New Material
Before any new insulation goes down, gaps around ceiling penetrations — recessed lights, exhaust fans, plumbing vents, the attic access hatch — should be sealed with an appropriate caulk or fireproof foam. Skipping this step is why so many “re-insulated” old attics still leak conditioned air: the insulation slows heat transfer, but it doesn’t stop air movement through gaps.
Step 3: Choose the Right Insulation for a Retrofit
For most older Los Angeles homes, blown-in insulation is the practical choice for a retrofit — it conforms around joists, wiring, and obstructions without the demolition that batt replacement often requires, and it can typically be installed in a single day with minimal disruption to the household. Our blown-in insulation page covers how this compares to batts for homes that already have finished ceilings below the attic.
If your existing insulation is still dry, unbothered by pests, and simply thin, in some cases it can be added to directly. If it’s compressed, soiled, or clearly aged out, it should come out rather than be built on top of.
Step 4: Hit the Right R-Value for Your Zone
Los Angeles spans a few different climate zones, and inland Valley areas (Van Nuys, Northridge, Woodland Hills) typically call for a higher target R-value than coastal areas like Santa Monica. Guessing at coverage is one of the most common DIY errors — too little insulation barely moves the needle on comfort or energy bills, while insulation type and depth both need to match your specific zone. A free in-home estimate will confirm the correct R-value target and depth for your exact address rather than a national average.
Step 5: Watch for Rodent Re-Entry Points
Older attics in the Valley are notorious for rodent access points that reopen year after year — and new insulation installed without sealing those entry points will get re-contaminated within a season or two. If your home has a history of rodent activity, it’s worth pairing insulation work with a proper rodent proofing service so the investment actually lasts.
DIY vs. Hiring a Pro: What Actually Changes the Math for Old Attics

DIY attic insulation is genuinely doable for a simple, clean, unfinished attic in a newer home. For an old attic, the calculation changes because of everything above: potential contamination, air sealing that’s easy to miss, uncertain wiring conditions, and correctly hitting code-required R-values for your specific zone. A rushed DIY job in an old attic often needs to be partially redone within a few years — which usually costs more in total than doing it right the first time with a licensed contractor.
The Bottom Line
Insulating an old attic isn’t just “add more insulation” — it’s inspect, clean, seal, then insulate to the right R-value for your zone, with an eye on keeping rodents from undoing the work. If you’re not sure which step your attic actually needs, that’s exactly what a walkthrough is for.
Not sure where your attic stands? Get a free estimate and we’ll tell you honestly whether you need a full clean-out, a top-off, or a complete reinstall — no obligation.